Installing new gutters is an essential part of maintaining the integrity and functionality of your home. Whether you are replacing old, worn-out gutters or installing them for the first time, this article will provide you with all the necessary information to complete the task effectively. Gutters are not only responsible for directing rainwater away from your roof and foundation but also play a crucial role in preventing water damage and erosion.
At first glance, installing new gutters may seem like a daunting task. However, with the right tools, materials, and proper guidance, it can be a straightforward and rewarding DIY project. In this article, we will guide you through the entire installation process, from measuring and choosing the right gutters to securing them to your home. Whether you have basic handyman skills or are a seasoned DIY enthusiast, this step-by-step guide will help you successfully install new gutters and protect your home from potential water damage.
Measuring and Choosing the Right Gutters
The first step in installing new gutters is to accurately measure the length of your roofline. This measurement will determine the amount of guttering you will need to purchase. It’s essential to take precise measurements to ensure you buy the correct size and avoid any unnecessary costs or delays in the installation process.
Once you have determined the measurement, you can proceed to choose the right gutters for your home. There are various types of gutters available, such as aluminum, vinyl, and steel. Each material has its own advantages and considerations, so it’s essential to do your research and select the one that best suits your needs and budget. You can learn more here about the different types of gutters and their benefits.
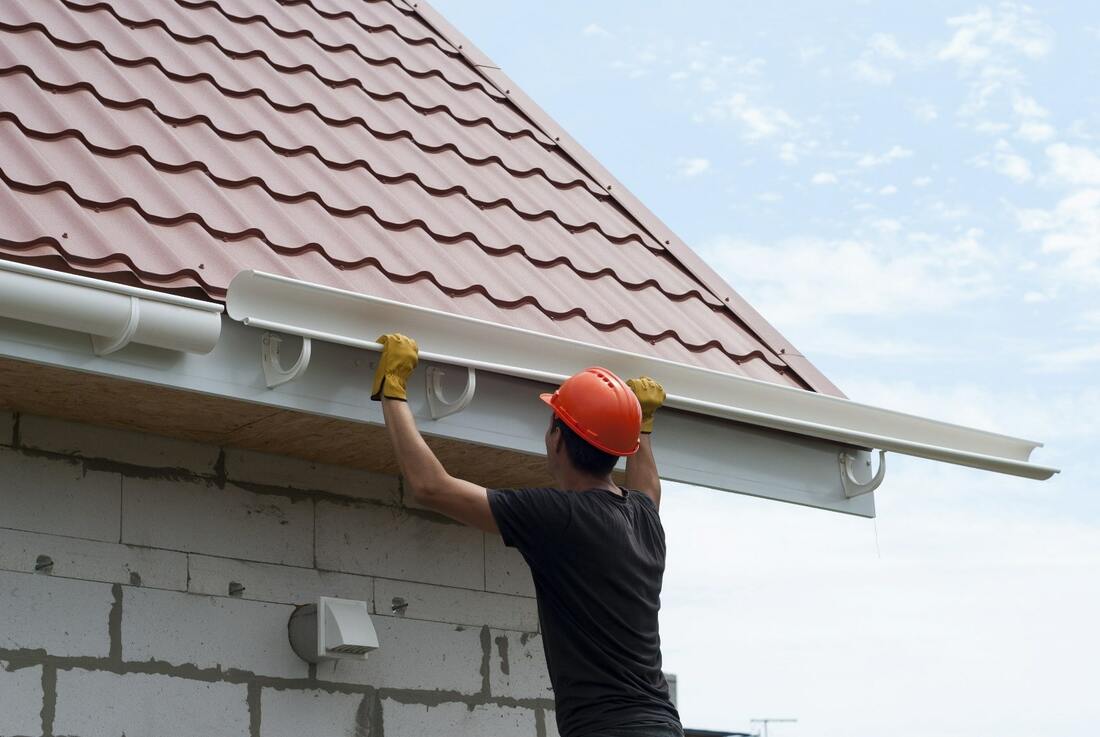
After measuring your roofline and choosing the right gutters for your home, the final step in installing new gutters is securing them to your home. This process typically involves attaching gutter brackets to the fascia board or roofline using screws or nails. It’s important to ensure that the brackets are evenly spaced and securely attached to provide proper support for the gutters.
Once the brackets are in place, you can begin installing the gutters themselves. This usually involves joining sections of guttering using connectors or sealants and ensuring they slope slightly downward towards the downspouts for proper water flow. It’s crucial to carefully follow manufacturer instructions and guidelines during this process to ensure a secure and effective installation.
Once all the gutters are in place, it’s recommended to test them by pouring water into them and checking for any leaks or areas where the water is not properly draining. If any issues are found, adjustments can be made accordingly.
In conclusion, installing new gutters is an important aspect of home maintenance that helps protect against water damage and erosion. With proper measurements, careful selection of materials, and accurate installation, you can successfully complete this DIY project and enhance the functionality and longevity of your home.
Leave a Reply